Showing posts with label Makeup. Show all posts

Monday, 8 September 2014

New Makeup Techniques To Try Today

eye care
Instant Face Lift
This makeup move will give you a subtle change that brightens your face. Take a concealer pencil (such as Susan Posnick Color Correct,and draw three horizontal lines — like cat whiskers — near the nose spanning out across the cheek. Use a sponge or clean brush to blend each line in an upward direction for an instant lift and ultra brightening effect.
To boost the effect, Petra Strand of Pixi Beauty suggests using a concealer pencil in the manner described above, then directly above each whisker, draw another whisker line using a highlighter. “When the concealer and highlighter are blended into the skin, it will not only lift and highlight, but will make the skin look airbrushed.”
Tone It Down
“If you have applied eye shadow that is a little too intense, don’t remove, just dip a shadow blender brush in bronzing powder, and sweep across the entire lid,” says Strand. “The bronzing powder will work like a neutral tint, so it will diffuse and soften the color without changing it too radically.”
For Lush Lashes
To get a better curl, Celebrity Makeup Artist and President/Founder of Mally Beauty, Mally Roncal uses the three-pump system with her lash curler. She starts with a squeeze at the base of the lashes, then a squeeze in the middle and ends with a squeeze at the tips of the lashes.
Once you’ve curled your lashes, Strand says to sprinkle a small amount of loose powder onto them, and then apply your mascara. Apply a second coat by zig-zagging the wand through the lashes to fan them out. You will notice that the powder helps to maximize the look of each lash.
For Fuller Lips
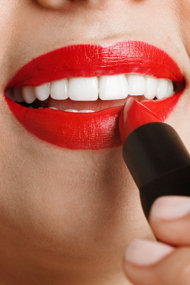
Roncal suggests connecting the two points of your Cupid’s bow (the top of your upper lip) with a nude lip pencil, like the Mally Lip Essentials Pencil   
An Improved Cat Eye
If you’re like me, then you still can’t manage to draw on a decent cat eye. While many tutorials suggest flicking your pencil up and out, it’s easier said than done. In a recent online video for Keds, Taylor Swift shared her tip for getting a good,

Thursday, 31 January 2013

Cat Eye Makeup

Cat Eye Makeup


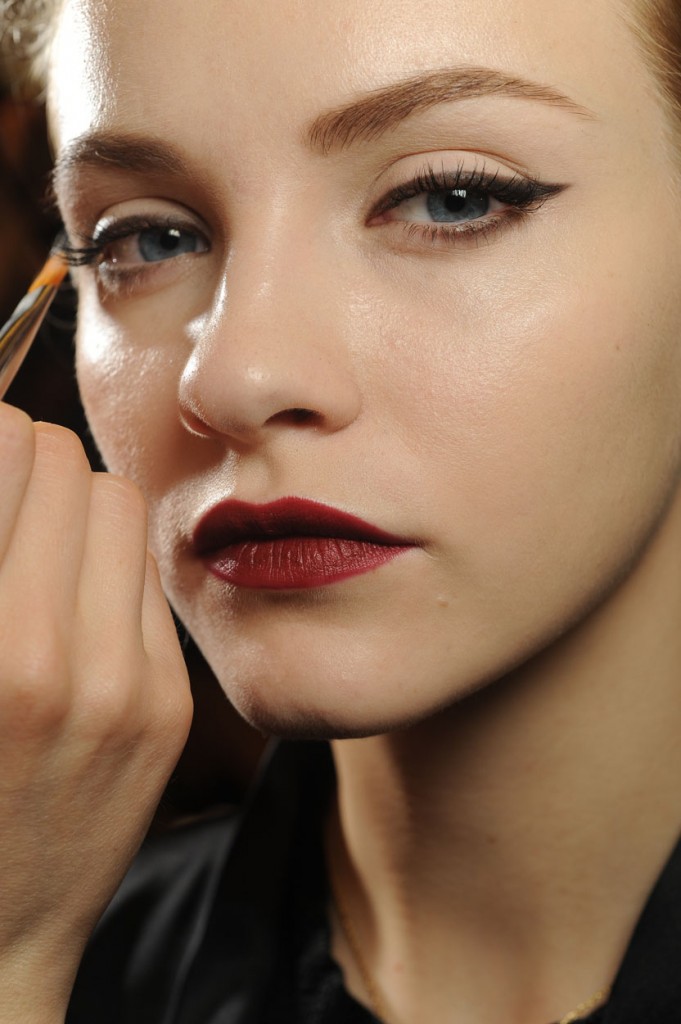
Cat eye makeup can give you a glamorous look, perfect for every occasion, whether it is a party with your friends, an elegant wedding or a business dinner. If you haven’t tried it yet, we will show you the basic steps on how to do a perfect cat eye makeup. The keyword is the eyeliner. That will be the most important thing you will need in order to create glamorous eyes. If you follow our guide, you can easily create an astonishing cat eye look. In order to achieve the perfect finishing, you don’t have to be a professional makeup artist. All you need is a little bit of patience and practice. Find out more on how to create your original cat eye makeup!

Cat eye is a classic, very feminine makeup, no wonder it it so popular in this decade. However difficult it may seem, in fact it is quite simple and natural as compared to other makeup styles. In the meantime it is very chic, sexy and gives you a mysterious air. A properly done cat eye makeup accentuates the face and highlights the eye. If you are ready to experiment, let’s see the major steps to obtain this dramatic look.
Step 1. It is important to have a hands-free mirror, so you can use both of your hands. After applying the under eye concealer (either liquid or powder) you will need a sharp eyeliner or a liquid eyeliner with a thin, angled brush. First I would recommend you to do a little practice in advance with both of these, so you can find out which is the easiest for you to use. If you decide to use the liquid eyeliner, always go for the one with the shortest tip, so you’ll have more control over it. However it is better to start with a pencil liner and after you get a certain routine in being precise, you can switch to liquid liner whenever you want.

Step 2. Pull your eyelid taut and keep your hand steady. Always do it with your eyes open so that you can see how your winged line will look like. Use a sharp black eyeliner pencil and dot precisely along the roots of the eyelashes form the inner corner slowly towards the outer line of the eye, to make sure the line will follow a right curve, and then fill it up. The most important thing is to make the line as close to the lashes as possible, following your natural lash line. As you reach towards the outer corner of the eye, slowly slant the line upwards, thicken it and carry the line as far as you like. In general, it is about a quarter of an inch long. For a more natural look, make a thinner line, but if you would like to obtain a more dramatic look, make it fatter. It is very important to open your eyes and check your work. If the wings are uneven, you can adjust them to each other until they are perfect.

Step 3. For creating a smokier makeup look, use a brush and apply a dark eye shadow over the top of your line, and towards the brow bone and gently blend the edges of the eye shadow and the eyeliner.

Step 4. To highlight the natural curves of your eyebrows, use an eyebrow pencil. This way your cat eye makeup will be more pronounced.

Step 5. As a finishing touch, apply 2 or 3 thin coats of volume mascara on both the upper and lower eyelashes.

By following this guideline, you will be able to create a perfect finish for your appealing cat eye makeup. Don’t forget: ‘pratice makes the master’. Practice it a few times before the event and you will achieve perfect results. Be free to try new makeup styles and enjoy your new look!

Saturday, 17 November 2012

Tips for Prom Hair Style


Tips for Prom Hair Style 


For your professional hairdresser will cost $ 20 to $ 50. It will take about an hour to get your hair done. Make sure you make your appointment hours more before leaving for graduation good. Also made two months in advance. Some even go to trial a few weeks ago too. Also, if you see a haircut online or in a magazine that you want, print it and take it to the hairdresser. Also, do not wash your hair the day before the ball, will be held in better hair less clean.


For your professional nail cost about $ 25. You can also go to Wal-Mart and get advice airbrush nails for about $ 5 and put them in yourself. You can also simply paint and put stickers or gems on them is also available at Wal-Mart. Make sure your nails to match your dress or accessories, however, nails hot pink and baby blue dress that does not go well at least to make a statement. Do not forget your fingers. Even if your shoes are open-toed his most likely remove any dancing.

You can get your makeup done professionally too, but most people do it themselves or have someone do it for them.
Consider the amount of time you need to prepare and triple it. Things always pop up and you do not want to be in a race to be perfect

Wednesday, 19 September 2012

Your Makeup Mistakes

Makeup Mistakes

 A foundation that's too thick will settle into fine lines and sap the luminosity from your skin. "Only use foundation where you need it to even out discoloration," says makeup artist Frances Hathaway. "You don't have to cover every inch of your skin." When buying a foundation, avoid those described as "matte," "velvet," and "long-wearing"; look for sheer liquid formulas with light-diffusing pigments. If you have dry skin, foundation can look patchy and accentuate discoloration, so exfoliate two to three times a week and always apply a moisturizer after cleansing. Hathaway favorite moisturizers to use under foundation:


  Over-Concealing Your Under-Eye Circles

A thick concealer that comes in a stick or pot will eradicate the shadows under your eyes, but it will also draw attention to the crepiness and fine lines that usually show up in that area first (because the skin there is thin). A better option: A brush-on highlighter pen drugstores) that uses illuminating particles, not opaque color, to camouflage dark circles. Apply it only near the inner corners of your under-eye area, where shadows are most prominent (and lines least). 
 A dark color makes any surface look smaller--a welcome illusion perhaps on your hips but not your lips. To make your mouth look fuller (one hallmark of a youthful face), choose bright lipsticks and glosses (peaches, pinks, vibrant reds) over deep shades (burgundies, wines, browns). Makeup artists use another trick to create the illusion of luscious lips: Before applying color, trace a highlighter pencil along your upper lip line, then buff it out with your finger. (Try Nars Soft Touch Shadow Pencil in Hollywoodland, $24; 

Mistake #5: Wearing Black Eyeliner

Don't skip eyeliner altogether--it's a great way to make your eyes look more open--but choose brown over black, which can be harsh. And keep the color diffuse. "You want to define the eyes with softness and blending, not strict lines," says makeup artist Troy Surratt. "A thick liner can leave the upper lids looking heavier than they are." The best technique: Trace a brown pencil liner along the upper lash line (into the roots of the lashes), focusing on the outer corners; smudge it with a Q-tip.


Mistake #6: Going Overboard with Lip Liner

A lip liner can define your lips and prevent color from feathering into any lines around the mouth--but choose one very carefully. If you line your lips too heavily, or with a color that's too dark, they'll look tight and pursed. For the most natural effect, your lip liner should match the color of your lips, not the color of your lipstick. Choose a creamy formula that won't adhere to any dry patches, and use it to fill in your lips entirely, so it wears evenly.